FREE SHIPPING ON ALL SCOOTERS (IN CONTINENTAL US)

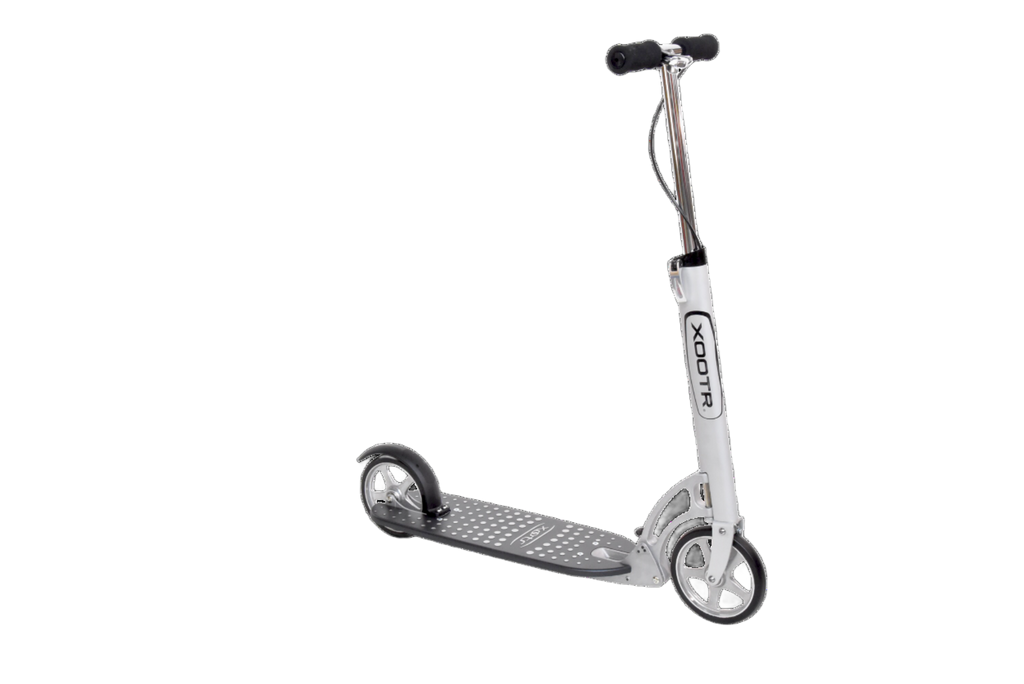
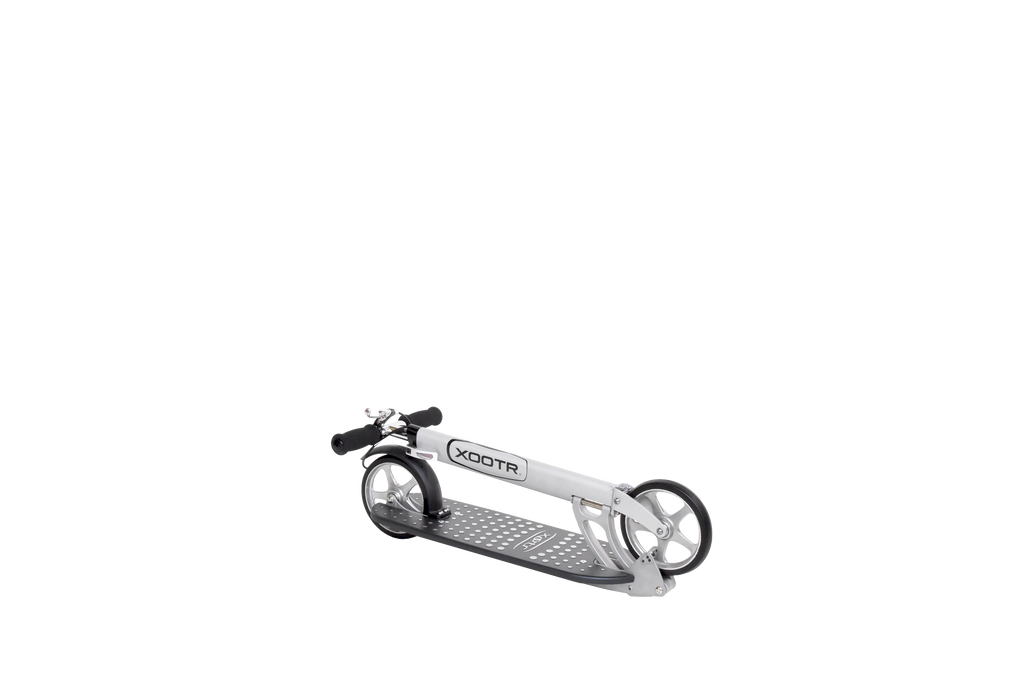
Xootr MG
Xootr MG
$379.00
The deck of the Mg is solid magnesium (no kidding) providing the lightest deck structure of our wide-deck models. The Mg has a beautiful, sleek, and modern look. We believe the Xootr Mg is the most advanced push scooter ever made, which is why it is our best selling model. It offers a wide deck which provides comfortable cruising, allowing you to have both feet side by side on the deck unlike other adult kick scooters such as the Razor A5 Lux, Know-Ped, or Micro.
FREE SHIPPING IN CONTINENTAL U.S.
FEATURES
- All-magnesium deck for light weight
- Wide platform for comfortable cruising (ride with feet side by side)
- Ultra-low-resistance polyurethane tires for a super-efficient glide
- Shielded, self-lubricating bearings
- Award-winning industrial design by Lunar Design
- Patented steering and folding system
- Rated as the top kick scooter for adults in 2018